amber in Word, PowerPoint and Excel: the Office add-in
How to deploy the amber add-in for Microsoft 365 and use amber right inside Word, PowerPoint and Excel.
What is the amber add-in for Office?
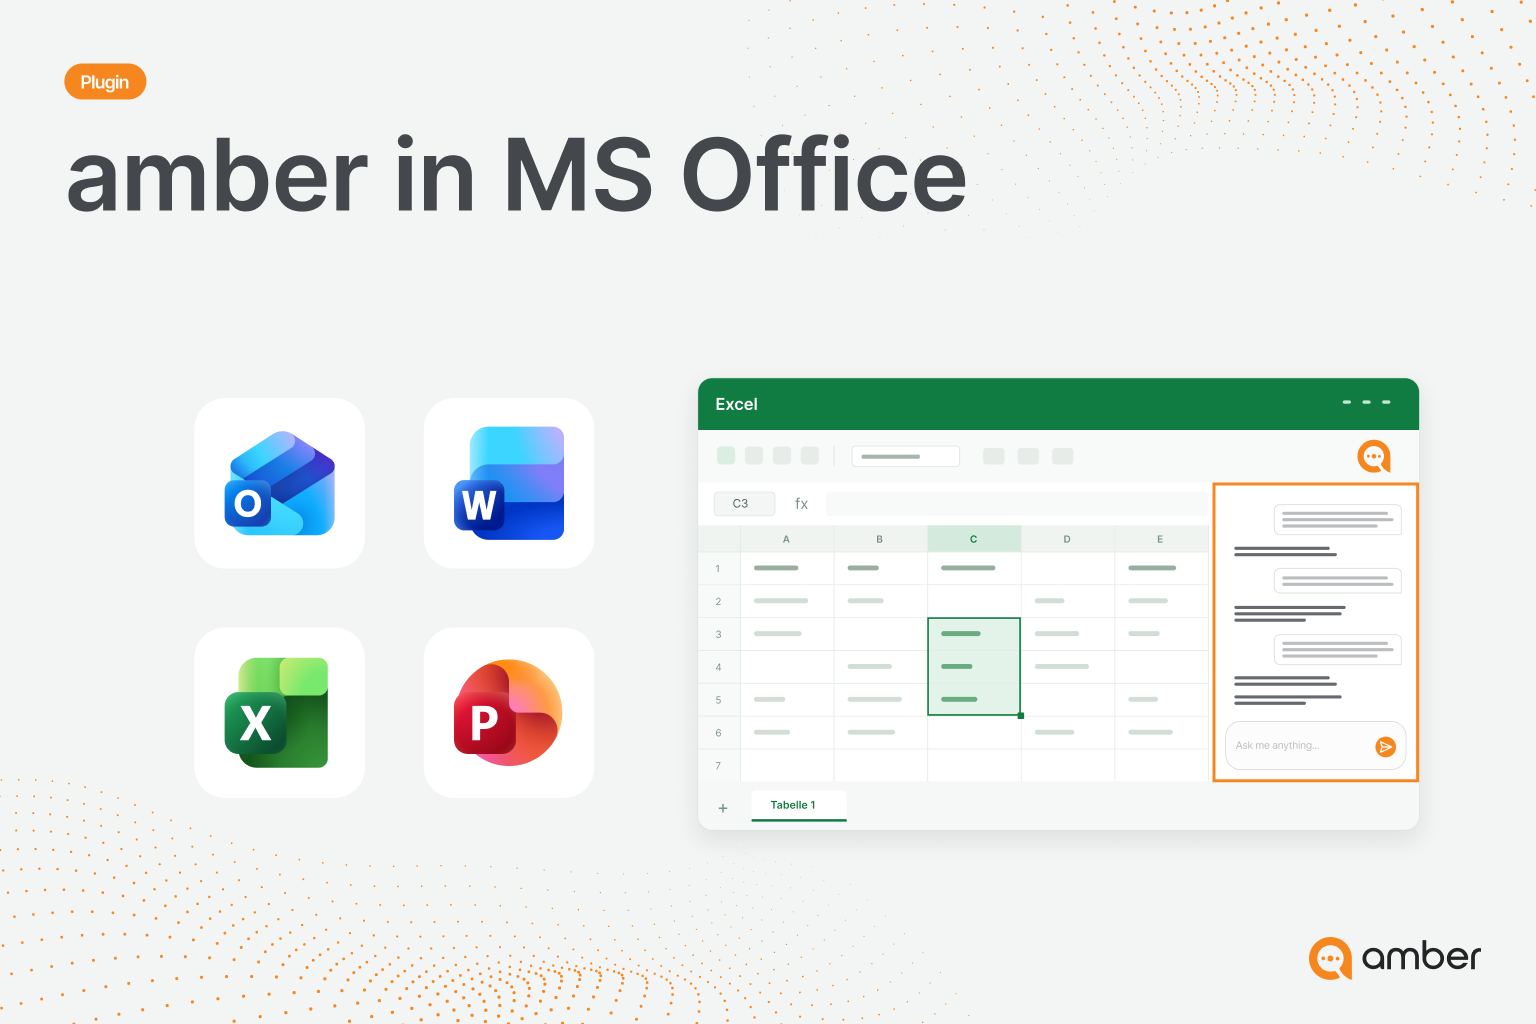
The amber add-in brings amber straight into Word, PowerPoint and Excel. A chat opens next to your file, where amber writes texts, creates slides or analyzes data. amber uses everything your team has set up: your company knowledge, your actions and your agents.
For administrators: Deploy the add-in
You deploy the add-in once for your whole organization, so your colleagues don't have to install anything. It works the same way as the Outlook add-in.
What you need
Access to the Microsoft 365 admin center with permission to deploy apps
The manifest file of the amber add-in (.xml) or a link to it. Your amber contact person provides both.
How it works
Sign in to the Microsoft 365 admin center.
Open Settings › Integrated apps.
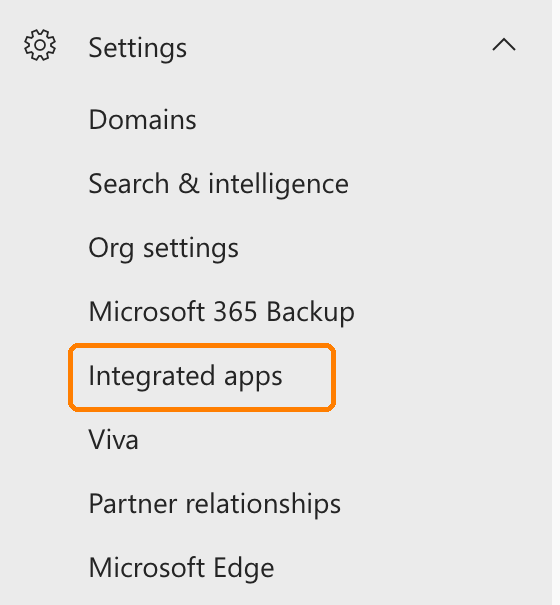
Click Upload custom apps.
Under App type, select Office Add-in.
Upload the manifest file: as a file via Upload manifest file (.xml) from device or as a link via Provide link to manifest file.
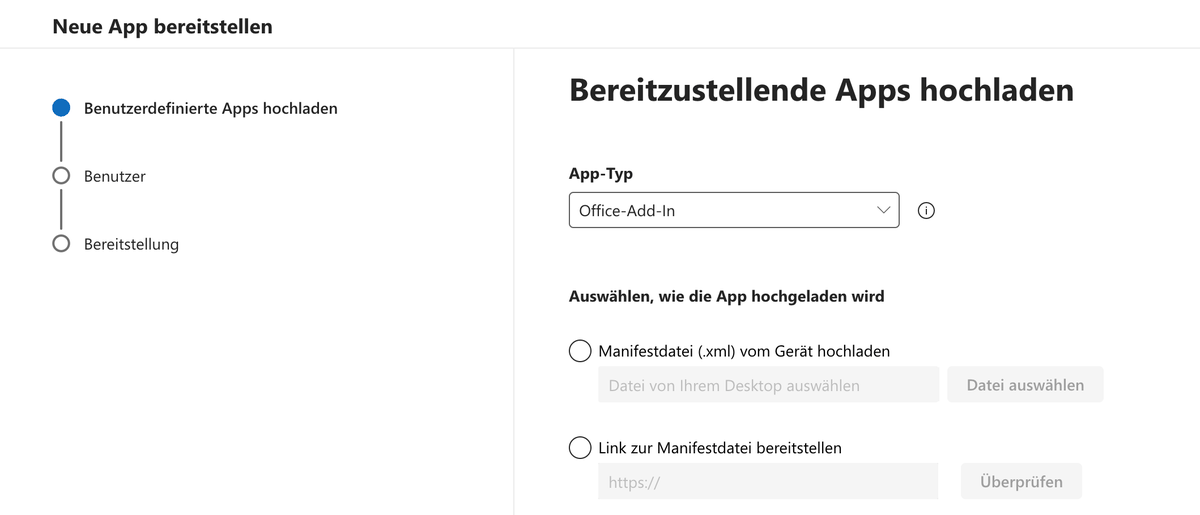
In the Users step, choose who gets amber, then complete the Deployment.
Tip: Deploy amber to yourself or a small pilot group first, then to everyone.
It can take up to 72 hours for amber to appear in everyone's ribbon.
For users: Use amber in Office
1. Open amber
Open a document, presentation or workbook and click amber on the far right of the Home tab. The amber pane opens on the right.

No amber icon? Click Add-ins › More Add-ins, open the Admin Managed tab and select amber. If amber isn't listed there, your IT team hasn't deployed the add-in to you yet.
2. Sign in
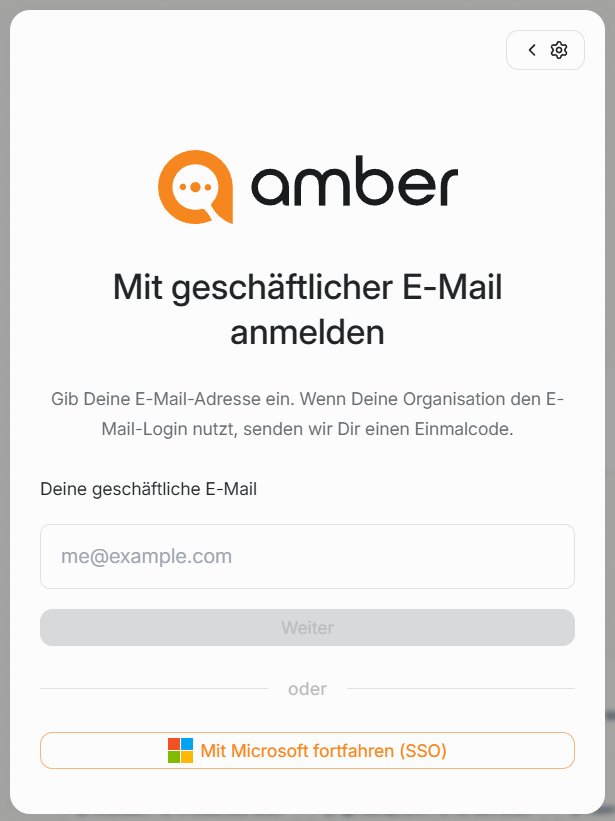
Click Sign in. In the new window, sign in the way you usually sign in to amber:
Microsoft account: Click Continue with Microsoft (SSO).
Work email: Enter your address and click Next. If your organization uses email login, you'll receive a one-time code.
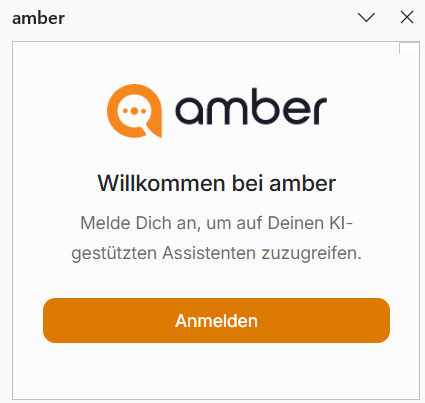
You only need to sign in once.
3. Allow changes
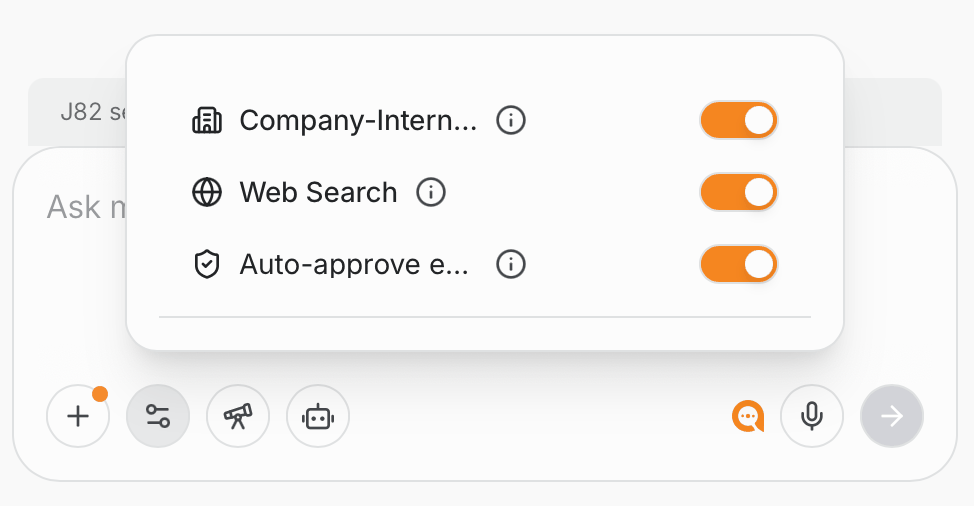
Before amber changes your file, it asks in the chat and you confirm each change. If you want amber to apply changes directly, click the settings icon (sliders) in the input field and turn on Auto-approve. This is also where you choose whether amber uses your company knowledge and web search.
4. Get started
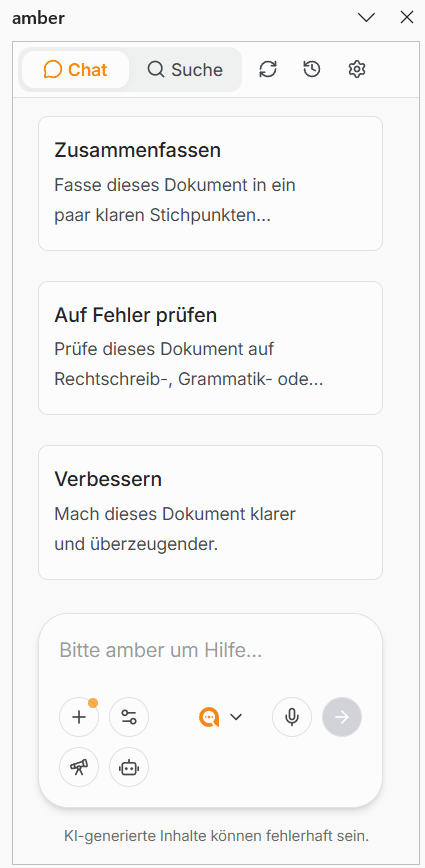
At the top, you switch between Chat and Search. To get you started, amber suggests three tasks: Summarize, Check for errors and Improve. Or type what you need into the Ask amber for help… field.
amber edits your file directly. If the result isn't right yet, tell amber in the chat what to change.
Tips and examples for each app
Word
If amber should only edit part of the document, name it precisely, for example "the second paragraph".
"Make the introduction shorter and friendlier."
"Write a summary of this concept, 80 words max."
"Summarize the document in five sentences and save it as an email draft to Anna." (uses your Outlook action)
PowerPoint
Describe the topic, audience and number of slides. If your presentations should always follow your corporate design, use the PowerPoint from template skill with your slide template.
"Create five slides for the first meeting based on the proposal for customer X."
"Adapt the slides for a technical audience."
"Translate slides 3 to 6 into German."
Excel
If you're referring to specific cells, name the range, for example "A2 to D50". Check formulas and figures briefly before you pass them on, because amber can make mistakes.
"Write a formula in column D that sums revenue by region."
"Explain the formula in cell F12."
"Clean up the table: remove duplicate rows and standardize the date format."
Was this helpful?